Wednesday, December 20, 2017

Pouring tallboys into glasses

When I was a younger man that frequented crowded bars, beer out of the bottle was ideal because my only concern was not spilling or splashing my beer if I was bumped into. I held my beer by the neck with my index and pinky finger like a douche.

As I slowly stopped going to those kind of places and really started exploring beer I realized the importance of pouring my beer into a glass. When pouring a beer into a glass it must be poured with some vigor. To truly enjoy a beer a good head of foam is essential. The size and retention of the head can vary by style, but it has to be there at least initially.


A proper pour does two things: the head traps in aromas from the beer, and it releases CO2 from solution. A slow pour intended to minimize foaming will lead to this:


The proliferation of the 16 ounce "tallboy" can has lead to, if not an epidemic of poorly served beers at least an outbreak. Beer drinkers, or God forbid beer servers can ruin a beer by trying to fit all 16 ounces in a tallboy into a pint glass. That can lead to pours like this:


No bueno. When pouring a tallboy into a glass, please pour it the same way you would a 12 ounce bottle. I start along the edge, and when the glass is 80% full I'll pour in the middle. At this point it is like driving a stick shift, I know when I need to change gears. If I am pouring one of my homebrews with low carbonation, I might pour the beer in the middle of the glass the entire time.

Getting back to tallboys, if your glass is full but there is still beer in the can, set the can aside. I keep two coasters on my end table just for this purpose. When my glass is around half empty and the head receded, I'll empty the can into my glass like this:


If this is how John Kimmich drinks out of a tallboy can, this is how you should drink out of a tallboy can.

Follow me on Twitter @JChalifour
Like The Would-be Brewmaster on Facebook

Wednesday, December 6, 2017

Brew Day: Broken Fist IPA (American IPA)

This is a beer I brewed earlier this year primarily for a HomebrewTalk post about fruited IPAs. The batch was infected and I dumped the entire six gallons. The only silver lining is that I didn't waste more hops on a second dry hop. 

A long time ago Jennie and I set up a Twitter account for our home brewery. Every now and again I get Twitter alerts for that account. One day I received an alert for a tweet with a link to a Beer Advocate thread entitled: "Is West Coast IPA still relevant?"

My answer is yes, of course it is! Some drinkers are so into and obsessed with New England Pale Ales and IPAs that perhaps those drikers feel that West Coast IPAs may no longer relevant. Some are so involved in their beer geekdom that they forget that not every craft beer drinker wants to wait in line at or trade for Tree House or Trillium. The craft beer drinkers that buy beer at a store are still buying plenty of West Coast and Midwest IPAs.

Modern West Coast IPAs from the San Diego area and New England IPAs are more similar than they are different. Neither type of IPA is overly bitter and both are highly aromatic. If you served a San Diego IPA and a Vermont IPA to a blind-folded drinker that hunts "whalez", that drinker would have a harder time than they would think discerning the difference in flavor between the two. In one blind tasting I actually preferred Port Wipeout IPA, a San Diego IPA that goes for $7 a bomber, to Heady Topper. Beer drinkers in general need to be more aware that they don't know what they don't know, and that Beer Advocate, RateBeer, or Untappd ratings are everything.

Digressing to my brew day, I dry-hopped my last New England IPA so aggressively that my three gallon batch only resulted in 24 bottles. As happy as I was with it, the beer went quickly. I needed to make another IPA soon. As much as I wanted to make another New England IPA, I already had most of the hops I needed to make another batch of  Broken Fist. When I think of Southern California I think of sunshine. With summer coming, a SoCal-inspired IPA will hit the spot.

I have always hopped Broken Fist a little bit like a New England IPA with a small dry hop addition toward the end of active fermentation. That first dry hop is smaller than I would employ with a New England IPA, but it's there to boost up the hop flavor.

Beyond the hopping, Broken Fist is more of a conventional West Coast IPA. In my West Coast-inspired IPAs like Broken Fist and The Anti-Chris, I still use water high in sulfates to yield a beer that is dry and accentuates the hop flavor, whereas in my latest New England IPA I flipped convention on it's head and brewed with water high in chlorides. I use generic US 2-row malt for the most part, and WLP090 San Diego Super yeast to produce a purely hop driven beer. And yes, I use kettle finings in my West Coast IPAs to try and make a beer that is reasonably clear.

I brewed an all-grain, six gallon double batch. I employed the same double boil that I did for the North Shore Brewers Wee Heavy. After primary fermentation, I am going to split the batch. Half of the batch will be dry hopped as normal, while I will add grapefruit peel to the other half. The split batch will be for a post on another website. Citrus IPAs and pale ales aren't going anywhere, so I may as well try to make one.


Follow me on Twitter @JChalifour
Like The Would-be Brewmaster on Facebook

Monday, December 4, 2017

Brew Day: Spontaneous Ferment Cider

Fittingly now that my last cider is finally in a keg, I have a new cider fermenting. Yeast and bacteria are all around us. It is natural and it is unavoidable. A fresh-pressed juice from an apple orchard by law does not have to be pasteurized. If you buy a jug at your local orchard that is not pasteurized, the jug will likely be adorned by some type of warning. As a result, any yeasts or other microorganisms on the apple when it was pressed are in the juice. Thus it is possible to ferment juice into cider without adding yeast.

Recently my friend Doug offered to pick up five gallons of fresh-pressed juice from an orchard in Amesbury, Mass. After he dropped the juice off, I decided to take one of the five gallon jugs, pour it into a one gallon growler, and let it spontaneously ferment to see what kind of unique flavors I might get.

Doesn't get more fresh than this!
I tucked the other four jugs into my mini-fridge. My intention was to ferment the rest of the juice with a white wine yeast. All I needed to do was free up a five gallon carboy. Three weeks later, by the time I did have a free carboy the bottles looked like this:


Bloated like me after dinner on a business trip
Much to my surprise the juice had already started to ferment. Most micro-organisms go dormant at refrigerator temperature. The CO2 that was produced caused the jugs to swell. When I broke the seals, I had to bleed off the pressure. One of the juges even gushed. Luckily I aimed the gushing juice right into a funnel.

At that point I decided to let the spotaneous fermentation go. I blended my original one gallon in with the four gallons from the refrigerator. I tasted a sample from the one gallon jug. It smelled kind of
sulphury, but tasted okay. To de-gas I may rack the cider again, but it probably just needs time.

The ability to keg and force carbonate gives more more room to experiment. I can sulphate and back-sweeten a cider with apple juice concentrate or un-fermented juice without worrying about yeast re-fermenting the added sugars.

When I finally built my keezer, my last cider was one of the first three beverages I put on tap. Cider is so easy to make I should try to keep on one draft all the time.

Follow me on Twitter @JChalifour
Like The Would-be Brewmaster on Facebook

Thursday, November 30, 2017

My Keezer Build

From Day 1 the ethos of this blog has been that homebrewing can be as involving of a hobby as you want it to be. The level of involvement does not just apply to brewing beer. Many homebrewers enjoy building stuff to brew or serve beer as much as the beer itself. When it comes to building bars, man caves, and draught systems these folks are in their glory. 

Myself, I am just handy enough to be dangerous.When it came time to set up my own draught system, I wanted the design to be as simple as possible. My other goal was for the system to be flexible. I want to easily be able to serve from different types of kegs and different types of beer.

My precious....

The main component of a draught system is the keg itself. Most homebrewers use the cornelius or "corny" style keg. The corny keg was the industry standard for serving soda until the development of the current "bag in a box" system. These work well for homebrewing because there is a removable lid which can be used to rack the beer into and for cleaning.

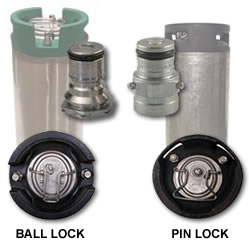
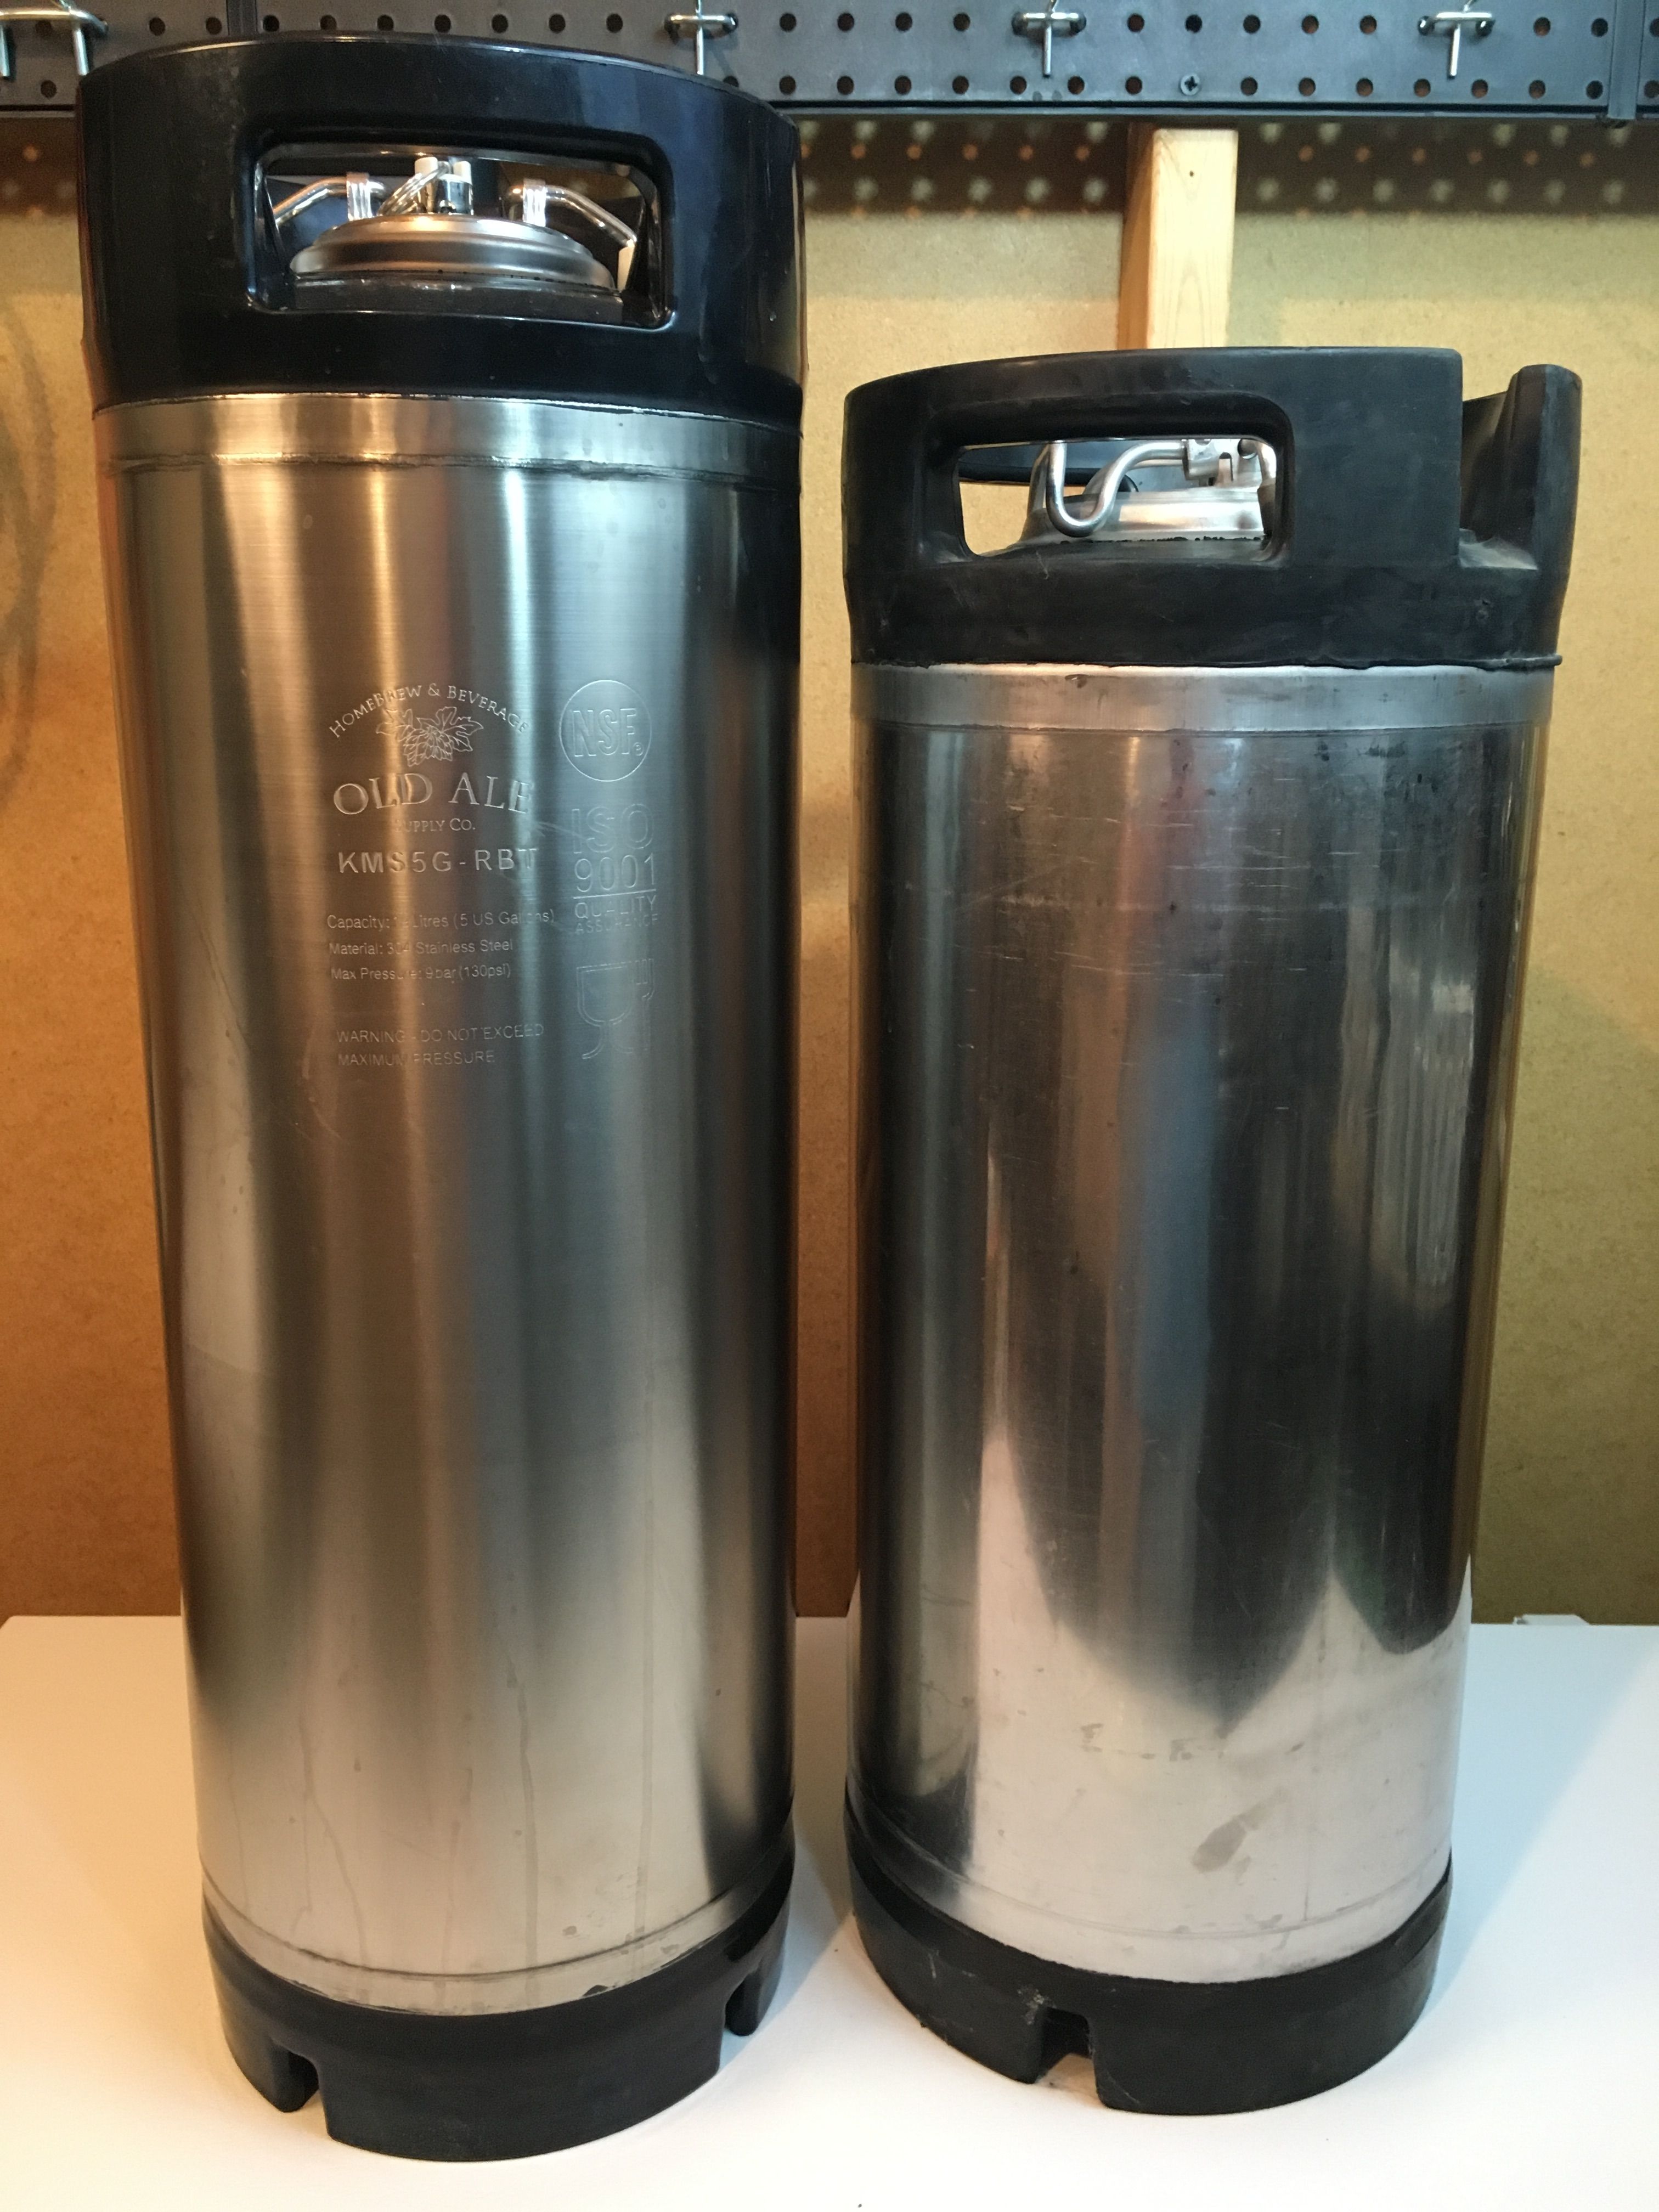
There are two types of corny kegs with two different keg posts: ball lock which was used primarily by Pepsi, and pin lock which was primarily used by Coke. Ball log kegs are taller and thinner than pin locks. They are also more common in this day and age, while pin locks tend to be cheaper. Most experts suggest choosing and staying with one format. Think of it as the iOS versus Android of the homebrew world. 


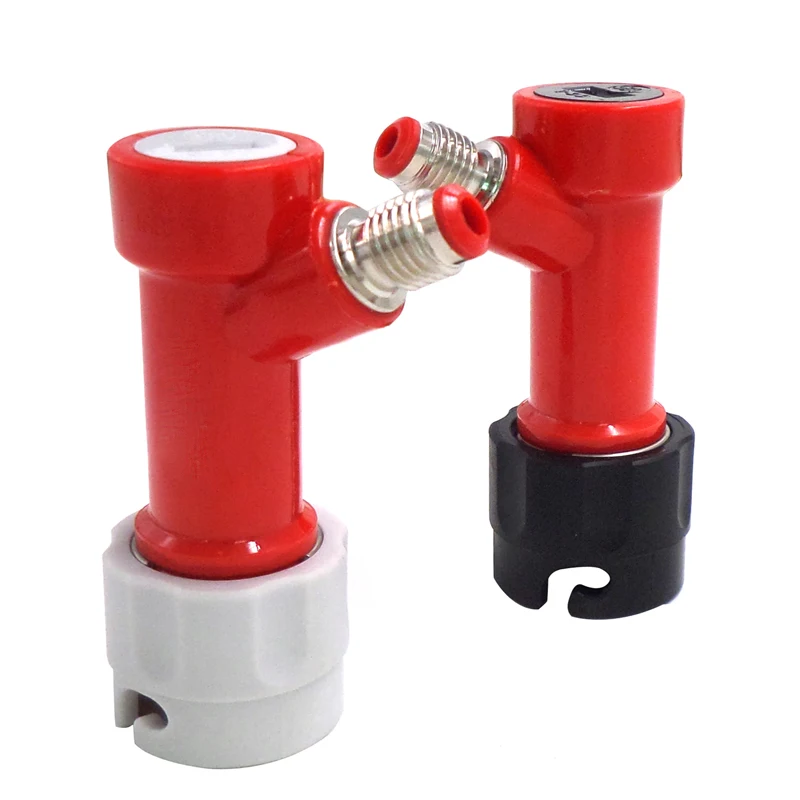
The first kegs I bought were pin locks and I have stayed with them. In order to easily switch between ball and pin lock, or even a commercial keg,  all of the lines use swivel nuts and flare fittings. Everything is screw-on and screw off. I can easily screw on a flared ball lock disconnect. All I need to serve a commercial sanke keg is a sanke tap and a couple flared tail pieces.


A commercial kegerator can be retrofitted to serve homebrew. In addition to changing fittings on the lines, you also need to add a new tower to dispense more than one beer. The most popular and more cost effective way to serve homebrew is to convert a chest freezer into a kegerator. This is known as a keezer.

Compared to a stand up refridgerator a keezer can fit more kegs. To keep the keezer at the proper temperature, the freezer is plugged into a temperature controller. Having slowly gathered the equipment I needed for my keezer, I purchased a single mode temperature controller during a 20% off sale. Since then, cheaper dual mode (ability to heat and cool) models have hit the market. Since I am only looking to cool, this will work just fine.

There are many different types of faucets on the market. The inexpensive faucets have a rear seal and can become sticky from dried beer. This can be more of an issue with a home system that isn't used as frequently as a bar or brewery tap room. Higher end faucets use a forward seal that is less of an issue.

Perlick faucets are widely known as the gold-standard, but I opted for Intertap faucets and shanks after reading this review on Brulosophy. I also purchased Intertap's stainless steel shanks which connect to the faucets. The shanks came with barbs that attach to the beer lines. 

What really won me over is the modular nature of the faucets. I love the ability to screw off the spout, screw on a barbed tip to fill growlers, or a nitrogen tip. Instead of paying $60 or more for a stout faucet than can only do a nitrogen pour, I can purchase a $12 spout. When I don't have a beer I want to serve on nirto, I can easily re-attach the regular tip.

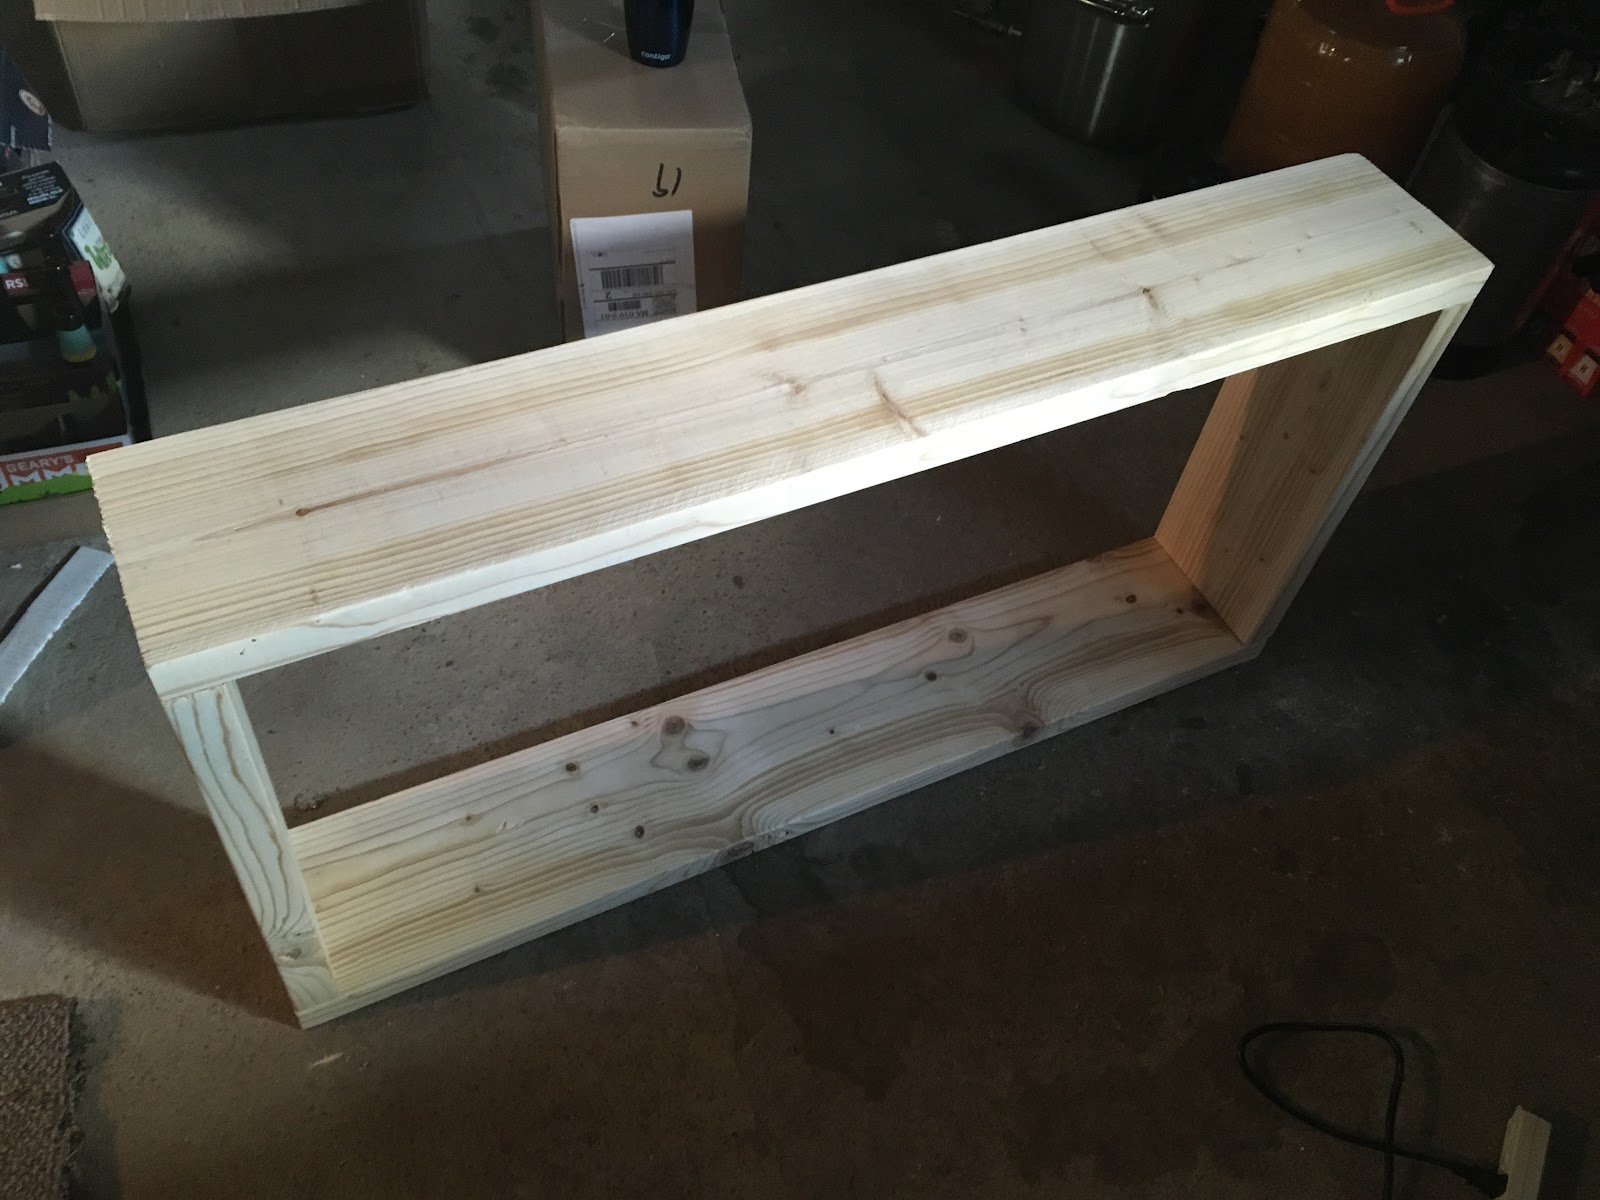
Most keezers have a wood collar. The added height from the collar makes it easier to fit kegs inside, especially on top of the hump that most chest freezers have. The collar also provides a safe place to drill holes to feed the shanks through. This is where the more handy and creative brewers can pretty up their keezers. One of the favorite things about my house is that the upstairs has the original wide pine floors. Originally I was going to try to give my keezer a similar finish. Then I read about what a pain it is to stain pine. My keezer is in an unfinished basement. It is not a display piece. It just has to be functional.

I purchased a couple 2x8 boards and had them cut to size at the store. I assembled the collar, measured, and drilled holes for the shanks on the floor. Next, I removed the lid on the freezer. I placed the collar on the freezer to make sure it fit. 

Even I was able to screw these four pieces together.
Four taps to start. I could probably fit two more.


Once I was sure the collar was the right size, I applied Clear Flex Shot along the edge of the freezer, and placed the collar back on. I also used the Flex Shot along all of the seams to keep the cool air in. It was very easy to use. Any excess was easily wiped up by a paper towel. Compared to spray-on insulators and gap fillers Flex Shot doesn't give off any fumes or gasses. 

Perfect fit!
Flex Shot bound the collar to the freezer and
sealed the joints.


I also mounted my gas manifold, temperature controller, and bottle opener to the collar. For something I slapped together without much effort, I couldn't be happier with how it turned out.


I can shut off any of the four lines with the flick of a switch.

I still have my mini fridge that may well contain
bottles that need to be opened.

Set it and forget it.
Once I set everything up, I put on kegs of cider, a trappist single: Chali 4, and Wet Hop Head. I had a couple leaky connections. I learned those flare fittings, and hose clamps that clamp the line onto the swivel nuts need to be super tight. 

With the collar I can't actually reach the bottom of the freezer. I was just able to suck up the spilled beer with my wet vac. Within a few days my CO2 tank was empty. I think there was a washer missing between the tank and regulator. Going forward a backup tank is probably a good idea.

Just like it took me awhile to get my brew system dialed in, I'm sure I'll get all the kinks ironed out. When I do it will be a game changer for me and my beer.

Follow me on Twitter @JChalifour
Like The Would-be Brewmaster on Facebook