Myself, I am just handy enough to be dangerous.When it came time to set up my own draught system, I wanted the design to be as simple as possible. My other goal was for the system to be flexible. I want to easily be able to serve from different types of kegs and different types of beer.
 |
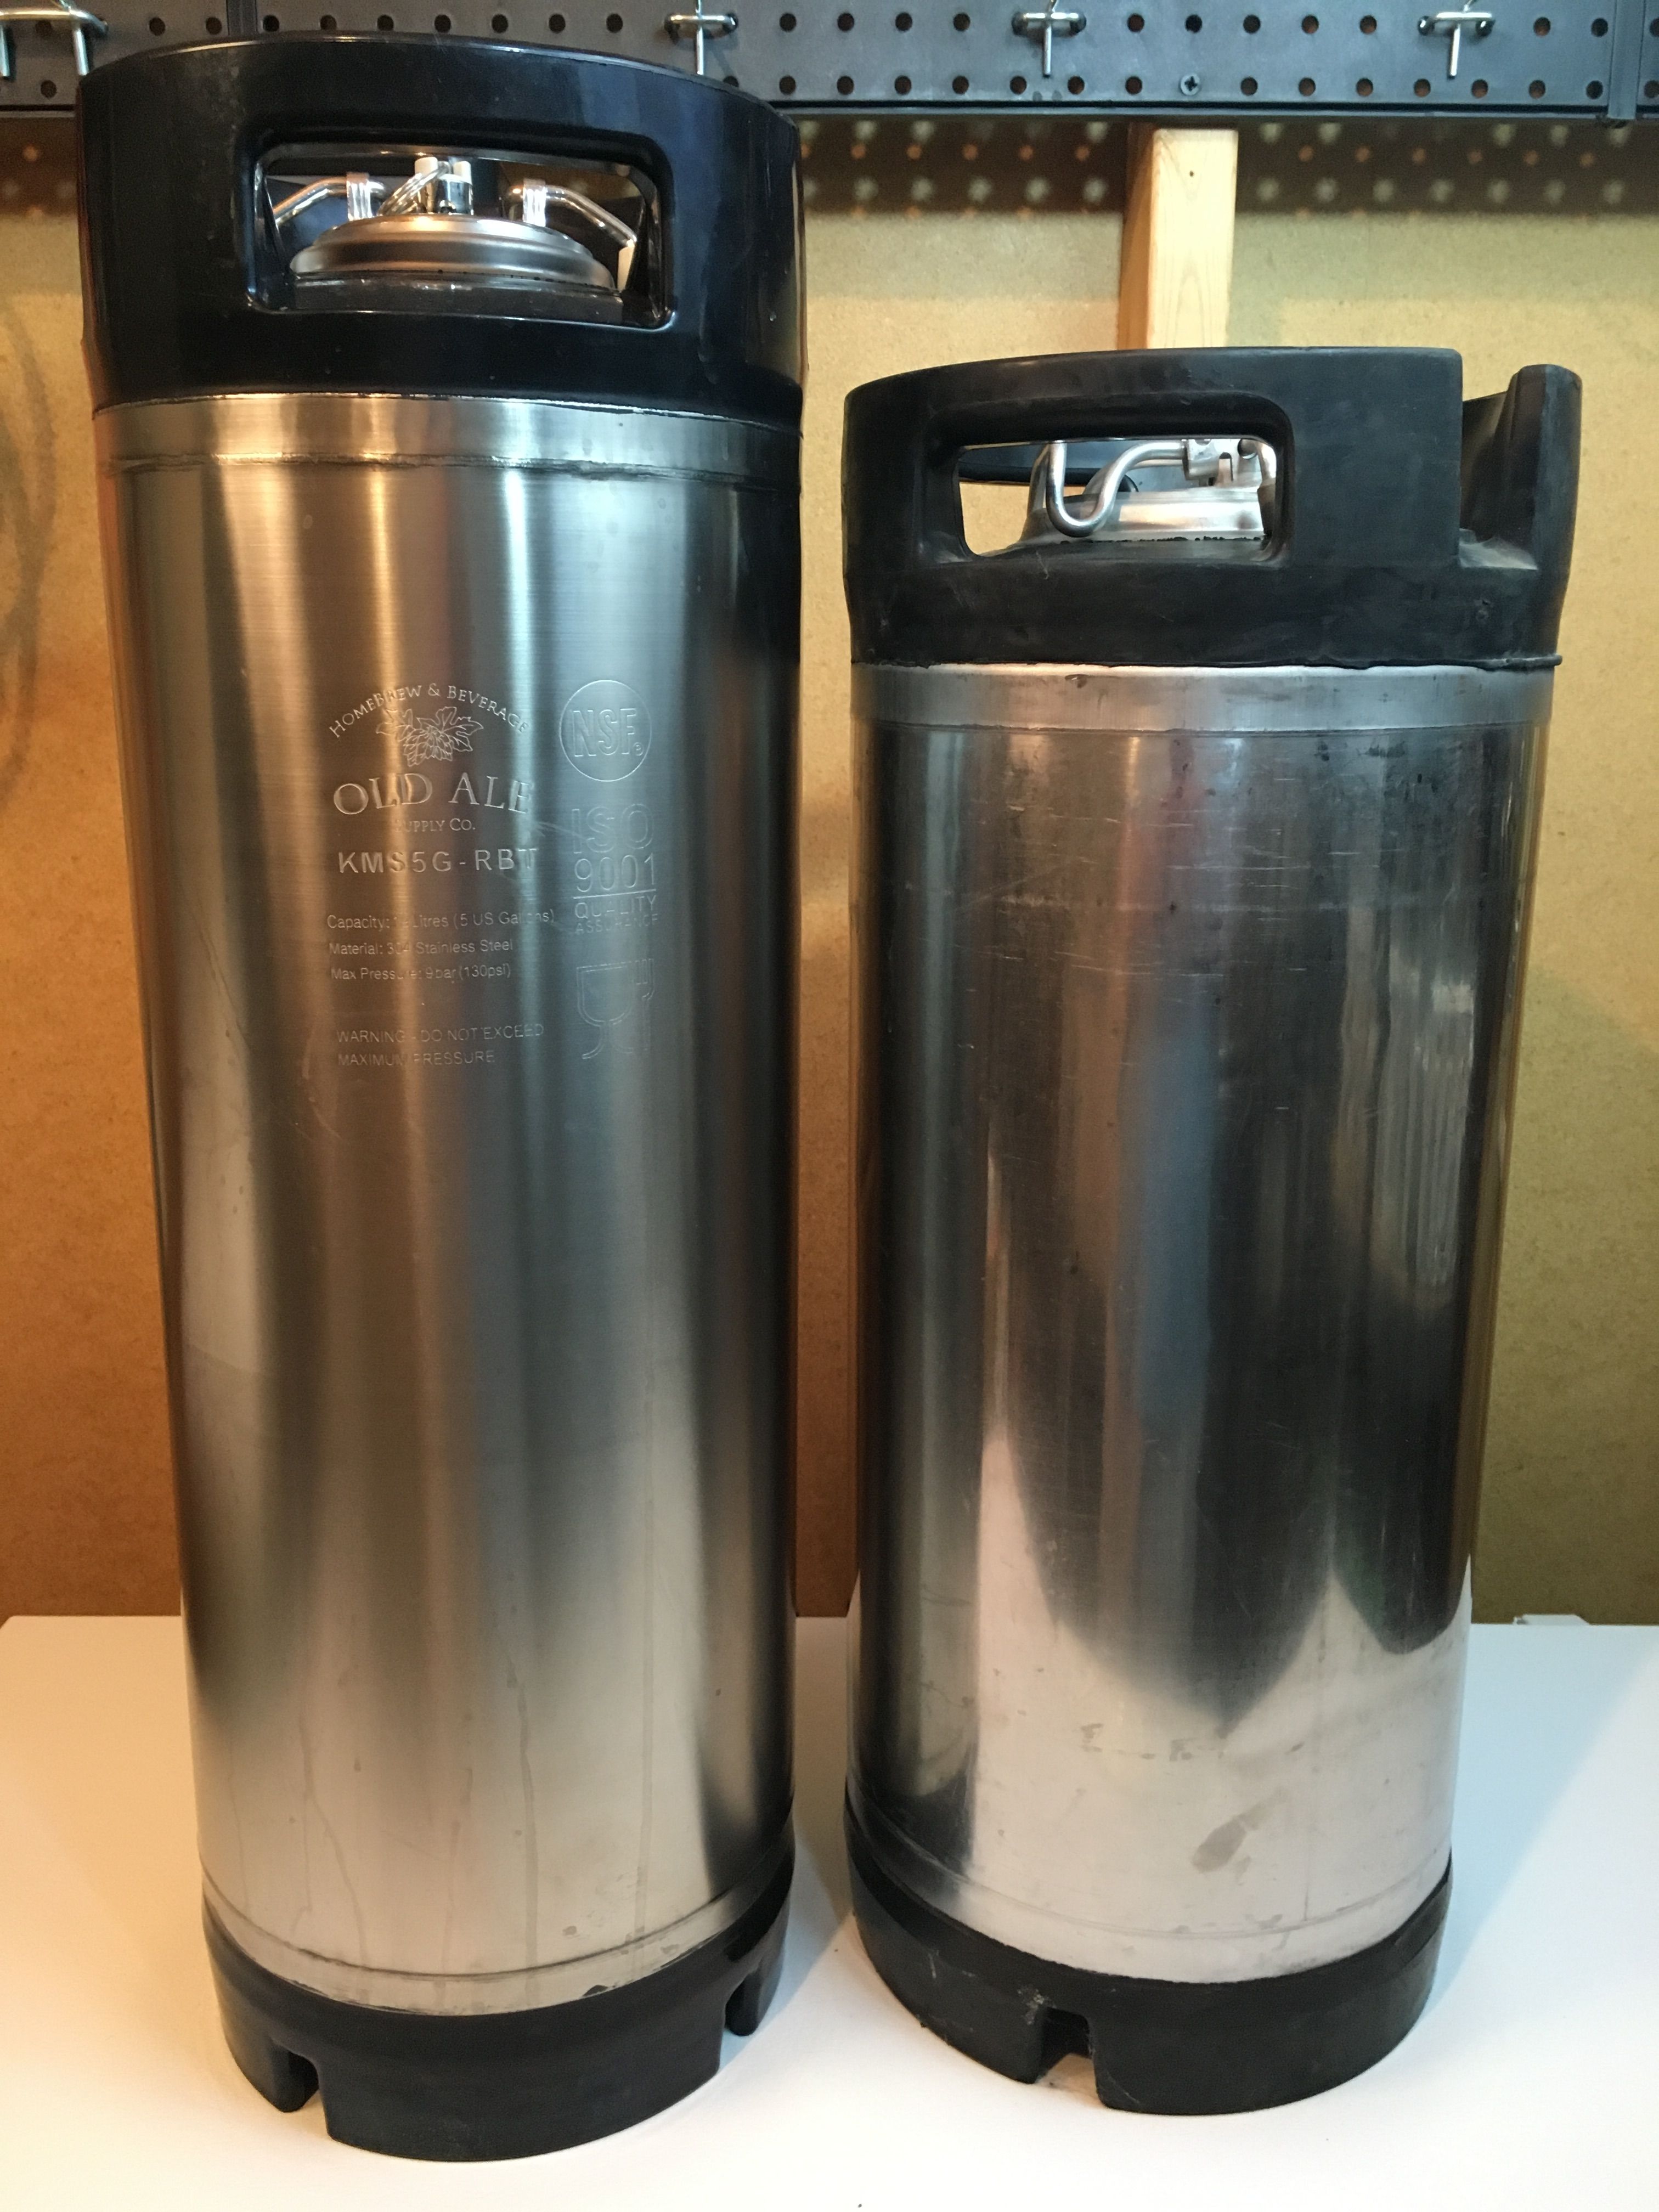
| My precious.... |
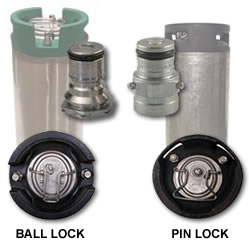
The main component of a draught system is the keg itself. Most homebrewers use the cornelius or "corny" style keg. The corny keg was the industry standard for serving soda until the development of the current "bag in a box" system. These work well for homebrewing because there is a removable lid which can be used to rack the beer into and for cleaning.
There are two types of corny kegs with two different keg posts: ball lock which was used primarily by Pepsi, and pin lock which was primarily used by Coke. Ball log kegs are taller and thinner than pin locks. They are also more common in this day and age, while pin locks tend to be cheaper. Most experts suggest choosing and staying with one format. Think of it as the iOS versus Android of the homebrew world.
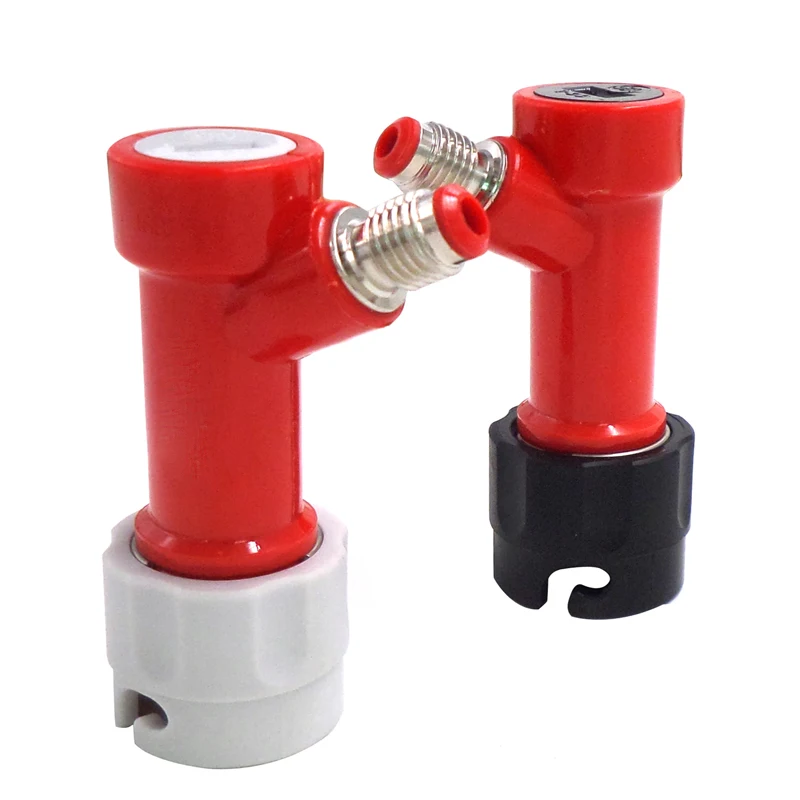
The first kegs I bought were pin locks and I have stayed with them. In order to easily switch between ball and pin lock, or even a commercial keg, all of the lines use swivel nuts and flare fittings. Everything is screw-on and screw off. I can easily screw on a flared ball lock disconnect. All I need to serve a commercial sanke keg is a sanke tap and a couple flared tail pieces.

A commercial kegerator can be retrofitted to serve homebrew. In addition to changing fittings on the lines, you also need to add a new tower to dispense more than one beer. The most popular and more cost effective way to serve homebrew is to convert a chest freezer into a kegerator. This is known as a keezer.
Compared to a stand up refridgerator a keezer can fit more kegs. To keep the keezer at the proper temperature, the freezer is plugged into a temperature controller. Having slowly gathered the equipment I needed for my keezer, I purchased a single mode temperature controller during a 20% off sale. Since then, cheaper dual mode (ability to heat and cool) models have hit the market. Since I am only looking to cool, this will work just fine.
There are many different types of faucets on the market. The inexpensive faucets have a rear seal and can become sticky from dried beer. This can be more of an issue with a home system that isn't used as frequently as a bar or brewery tap room. Higher end faucets use a forward seal that is less of an issue.
Perlick faucets are widely known as the gold-standard, but I opted for Intertap faucets and shanks after reading this review on Brulosophy. I also purchased Intertap's stainless steel shanks which connect to the faucets. The shanks came with barbs that attach to the beer lines.
What really won me over is the modular nature of the faucets. I love the ability to screw off the spout, screw on a barbed tip to fill growlers, or a nitrogen tip. Instead of paying $60 or more for a stout faucet than can only do a nitrogen pour, I can purchase a $12 spout. When I don't have a beer I want to serve on nirto, I can easily re-attach the regular tip.
Most keezers have a wood collar. The added height from the collar makes it easier to fit kegs inside, especially on top of the hump that most chest freezers have. The collar also provides a safe place to drill holes to feed the shanks through. This is where the more handy and creative brewers can pretty up their keezers. One of the favorite things about my house is that the upstairs has the original wide pine floors. Originally I was going to try to give my keezer a similar finish. Then I read about what a pain it is to stain pine. My keezer is in an unfinished basement. It is not a display piece. It just has to be functional.
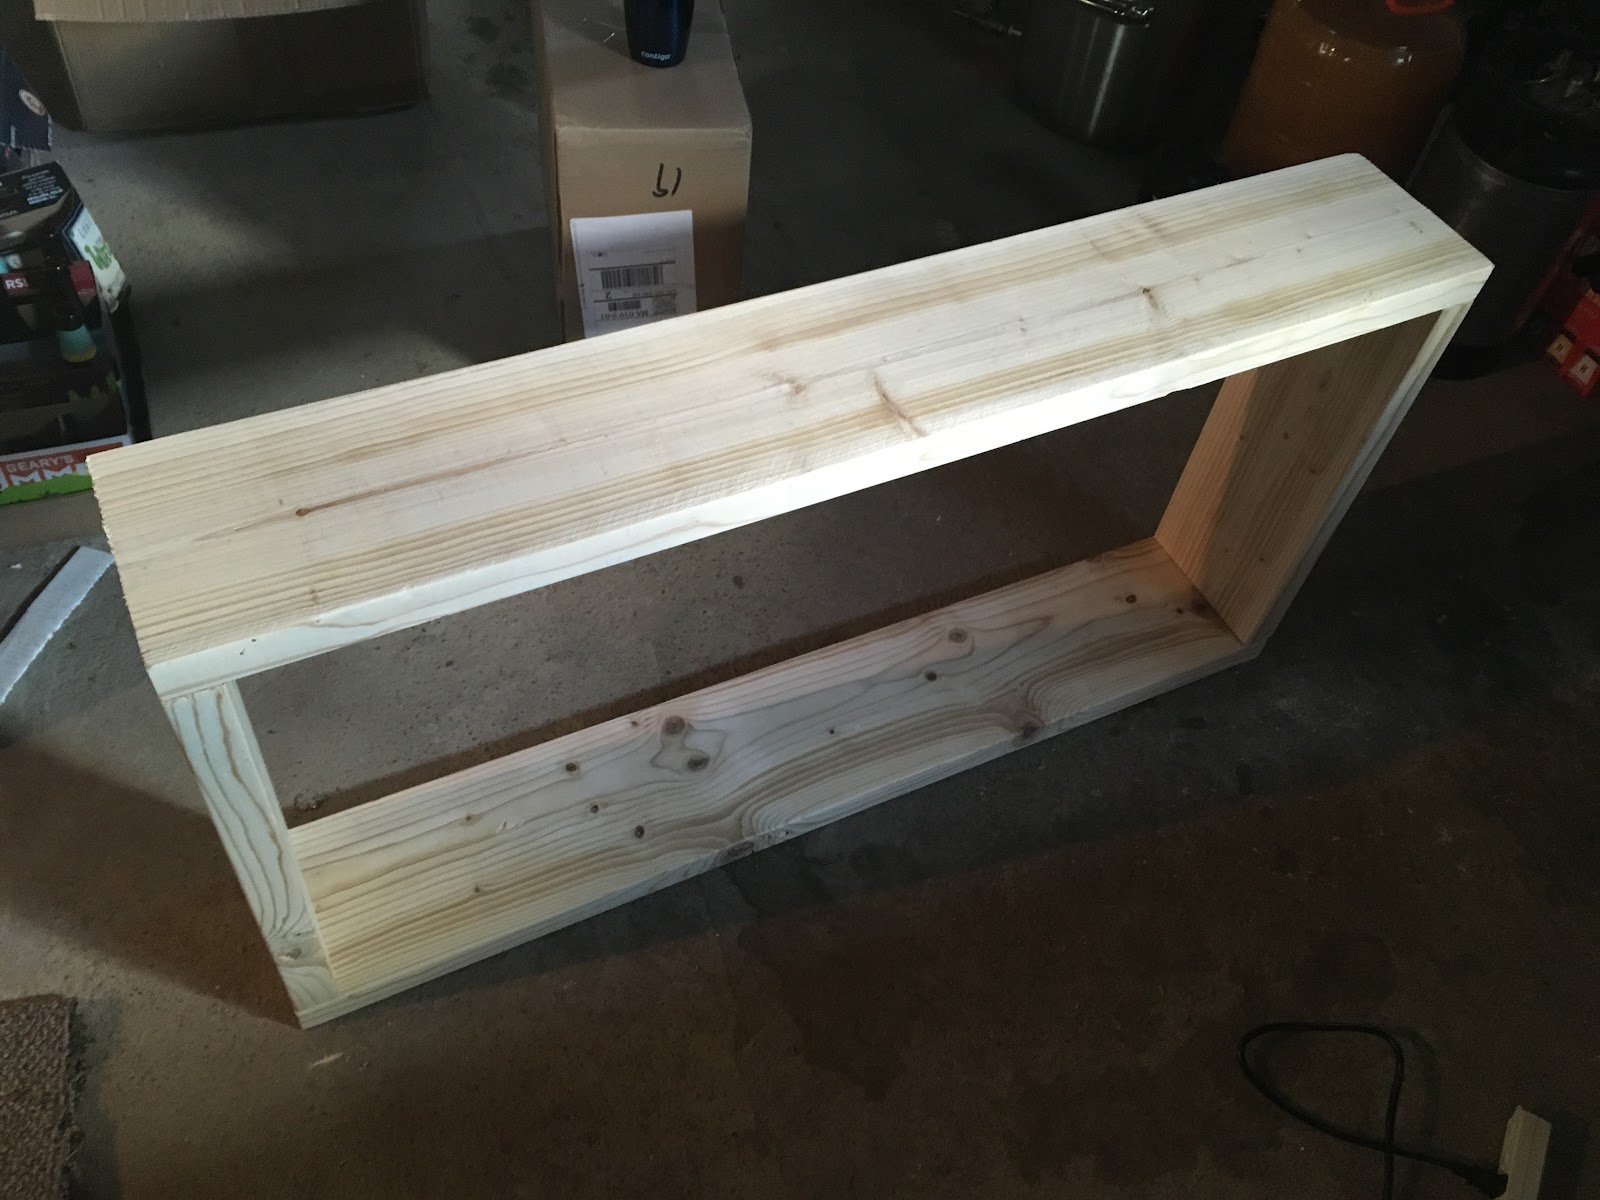
I purchased a couple 2x8 boards and had them cut to size at the store. I assembled the collar, measured, and drilled holes for the shanks on the floor. Next, I removed the lid on the freezer. I placed the collar on the freezer to make sure it fit.
 |
| Even I was able to screw these four pieces together. |
 |
| Four taps to start. I could probably fit two more. |
Once I was sure the collar was the right size, I applied Clear Flex Shot along the edge of the freezer, and placed the collar back on. I also used the Flex Shot along all of the seams to keep the cool air in. It was very easy to use. Any excess was easily wiped up by a paper towel. Compared to spray-on insulators and gap fillers Flex Shot doesn't give off any fumes or gasses.
 |
| Perfect fit! |
 |
| Flex Shot bound the collar to the freezer and sealed the joints. |
 |
| I can shut off any of the four lines with the flick of a switch. |
 |
| I still have my mini fridge that may well contain bottles that need to be opened. |
 |
| Set it and forget it. |
With the collar I can't actually reach the bottom of the freezer. I was just able to suck up the spilled beer with my wet vac. Within a few days my CO2 tank was empty. I think there was a washer missing between the tank and regulator. Going forward a backup tank is probably a good idea.
Just like it took me awhile to get my brew system dialed in, I'm sure I'll get all the kinks ironed out. When I do it will be a game changer for me and my beer.
Follow me on Twitter @JChalifour
Like The Would-be Brewmaster on Facebook
No comments:
Post a Comment